
Dragon's Dogma 2: Dark Arisen Boss Rewards: Loot Guide
Dragon's Dogma 2: Dark Arisen boss rewards explained: find Lost Rites gear, Offering Flames, repeat-clear loot, and relic upgrades to plan your next run.
Jump to
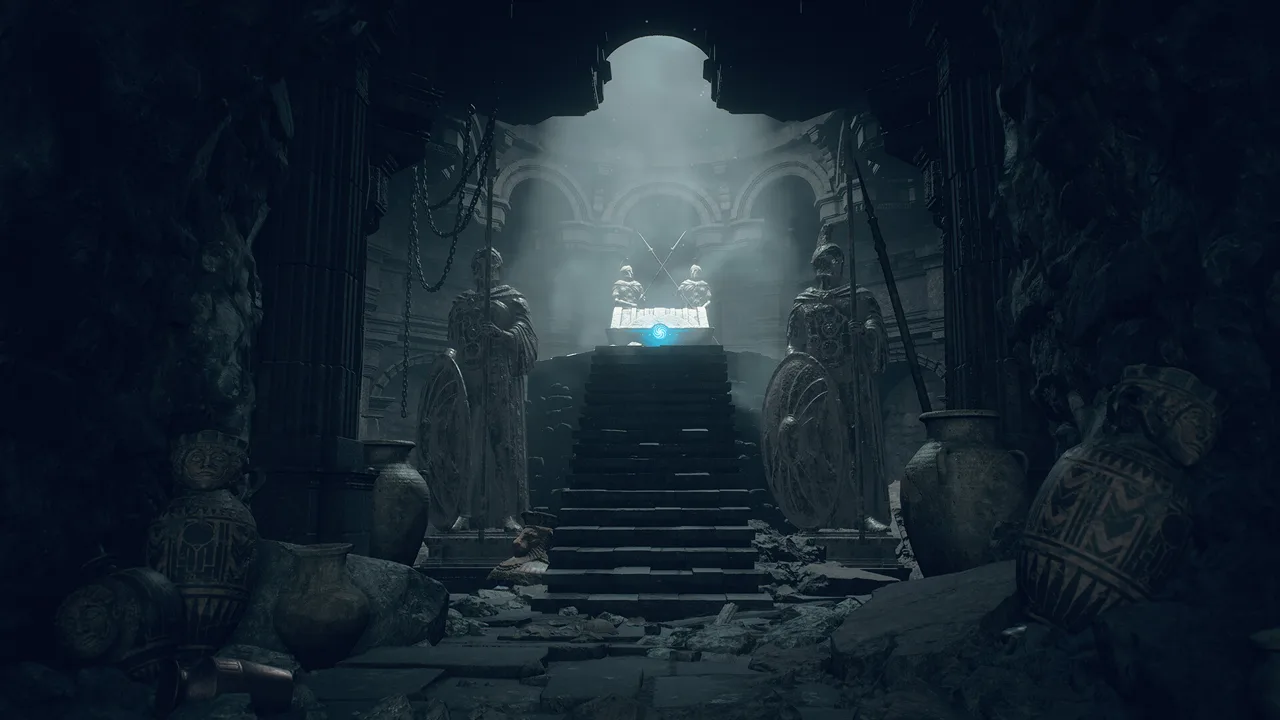
How Boss Rewards Work in Dark Arisen
A tough boss fight feels better when the payoff helps you survive the next one. Dragon's Dogma 2: Dark Arisen boss rewards include unique dungeon equipment, enhancement materials, and Offering Flames that feed into your character's growth. Understanding which Dragon's Dogma 2: Dark Arisen boss rewards are repeatable keeps you from clearing the same dungeon again for equipment you've already collected.
The expansion has two connected equipment paths. Lost Rites provide specific gear through dungeon exploration and first-clear rewards. Norgan introduces relics: unidentified treasures that become usable equipment after appraisal.
Boss encounters sit inside that larger reward structure. Defeating an enemy can supply monster materials, while the dungeon's signature equipment waits in a chest farther along the route. Finish the dungeon and collect its final treasure before counting the run as complete.
| Reward type | How you obtain it | What happens on repeat runs |
|---|---|---|
| Unique Lost Rites equipment | Collect first-clear dungeon treasures | Unique weapons, armor, and rings do not repeat |
| Offering Flames | Complete each Lost Rite for the first time | Previously collected Flames do not repeat |
| Gold and Ferrystones | Collect repeat-clear final chest rewards | Available through repeated clears |
| Monster and Brinebeast materials | Defeat enemies and collect their loot | Respawning enemies provide more materials |
| Relic equipment | Find relics in Norgan and have them appraised | Continue exploring Norgan for additional relics |
There are nine Lost Rites before the Unmoored World and three within it, for 12 total. The nine earlier dungeons collectively contain nine unique weapons, 20 armor pieces, three capes, and three rings.
That weapon selection covers every vocation except Warfarer. Choose your initial destinations around the weapon you want, then return for the remaining equipment and Offering Flames.
Official page: Dragon's Dogma 2: Dark Arisen (dragonsdogma.com)
Lost Rites Gear and First-Clear Rewards
For targeted Dragon's Dogma 2: Dark Arisen boss rewards, begin with the early Vermund dungeons. Devilkin Hollow, Daemon's Corral, and Sunken Spire distribute the nine unique vocation weapons across their treasure rewards.
 Image: Steam / CAPCOM Co., Ltd.
These are dungeon rewards rather than a list of items dropped directly by individual bosses. Search along the route as well as inside the final chamber; some armor and accessories sit away from the completion chest.
Where to Find Your Vocation Weapon
| Lost Rite | Unique weapons | Weapon vocations |
|---|---|---|
| Devilkin Hollow | Hexfinger, Dread Tusk, Calycate Scepter | Fighter, Archer, Mage |
| Daemon's Corral | Scarbrand, Prickled Pomander, Nerodia | Warrior, Trickster, Sorcerer |
| Sunken Spire | Iridian Sigils, Kinslayer, Cavicorn Bow | Thief, Mystic Spearhand, Magick Archer |
Devilkin Hollow supplies a sword, bow, and scepter, making its introductory clear useful across several party compositions. Daemon's Corral adds a greatsword, censer, and sorcerer's staff, along with the Mystic Eye head armor.
Sunken Spire contains more than its three weapons. Its additional treasures include a Fighter shield and Staunch Sabatons. Explore its descending levels instead of heading straight toward the exit.
Keep equipment for vocations you intend to try later. Dark Arisen also introduces transmog through progression in Norgan, giving collected gear a cosmetic use beyond its combat stats. The appearance system allows combinations such as a caster wearing the look of heavy armor.
Armor, Gold, and Other Dungeon Treasures
The remaining dungeons shift the focus toward armor, accessories, travel items, and demanding combat encounters.
| Lost Rite or encounter area | Entry requirement or access detail | Notable treasures |
|---|---|---|
| Interminable Corridor | Every party member must meet the very-light weight requirement | Ophidian Diadem, Band of Dunscaith, Griffin-Feather Cloak, Phantasmic Shawl, and additional armor |
| Shrouded Warren | Enter with only your Arisen and main Pawn | Two Warrior warhammers along the route and 100,000 gold at the end |
| Embersand Mine | No casters or elemental buffs in the entering party | A caster robe and a crown usable by all vocations |
| Mired Conduit | Access through the Coral Snakes' Hideout after Mercy Among Thieves | Armor for Fighter, Warrior, and Mystic Spearhand |
| Precipitous Catacombs | Your Arisen must be an Archer or Magick Archer | Catamount Jacket, a Portcrystal, gold, and a Ferrystone |
| Southern Battahl arena | Reach the entrance through Battahl Cavern | A chimera-themed cloak, armor, consumables, and gold |
In the Precipitous Catacombs, check the chest beneath the Drake encounter for its travel items and jacket. The Catamount Jacket supports Archer, Thief, Mystic Spearhand, and Magick Archer.
Interminable Corridor also rewards careful exploration. Break the stone after the Cyclops encounter to reach a hidden treasure room containing an eyepatch.
For the southern arena, collect the cloak on the descent before tackling the larger battle. Its encounters put multiple bosses together, so the treasure hunt and the fight require separate attention.
Unlock the Dungeons and Prepare Your Party
Begin the expansion's questlines by speaking with Captain Brant at The Stardrop Inn in Vernworth at night, after reaching Seat of the Sovran. His new conversation options introduce Norgan and the uncovered ruins.
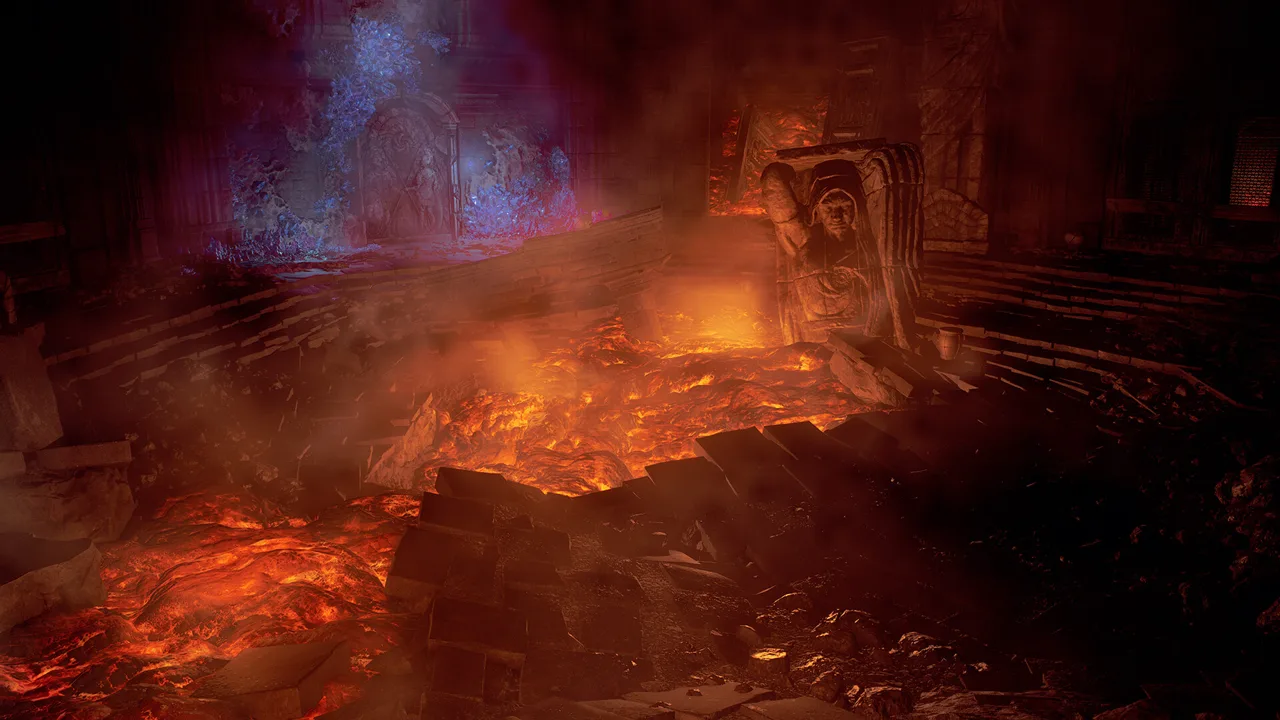 Image: Steam / CAPCOM Co., Ltd.
Use the Proving Ground Compass to reveal Lost Rites on your current world map. Activate it again after entering the Unmoored World to reveal the three dungeons there.
Devilkin Hollow has a broken seal. Other sealed entrances require the Empowered Godsbane Blade, obtained through main-story progression involving Ambrosius and the delivery of 15 Wyrmslife Crystals. Carry the blade when visiting those doors.
Follow this sequence through the earlier dungeons:
- Clear Devilkin Hollow, then Daemon's Corral and Sunken Spire.
- Prepare for Interminable Corridor's weight restriction and long gauntlet.
- Enter Shrouded Warren with your main Pawn.
- Reconfigure your party for Embersand Mine's caster restriction.
- Complete Mercy Among Thieves before approaching Mired Conduit.
- Equip Archer or Magick Archer for the Precipitous Catacombs.
- Leave the southern arena's simultaneous boss encounters until your party is ready.
Adjust your loadout before traveling. For Interminable Corridor, unload excess inventory and review every Pawn's equipment weight. Use its campsites during the gauntlet to keep the party healthy.
In Embersand Mine, replace Mage and Sorcerer party members and remove elemental buffs before entry. Inside, use explosive barrels against fire-vulnerable enemies such as slimes.
For the Catacombs, prepare ranged skills and equipment beforehand. Shoot destructible pillars to damage nearby enemies, target the Golems' glowing medals, and attack the Drake's head and heart.
Level 40 is the recommended starting point for Norgan. Save the Unmoored World Lost Rites for a substantially stronger character equipped with high-tier relic gear. For Dragon's Dogma 2: Dark Arisen boss rewards, preparation determines whether a promising treasure run becomes a long struggle.
Farm Materials Without Chasing One-Time Loot
Repeat runs remain useful after you've collected the unique Dragon's Dogma 2: Dark Arisen boss rewards. Their purpose changes: you're returning for experience, consumables, gold, Ferrystones, and enhancement materials.
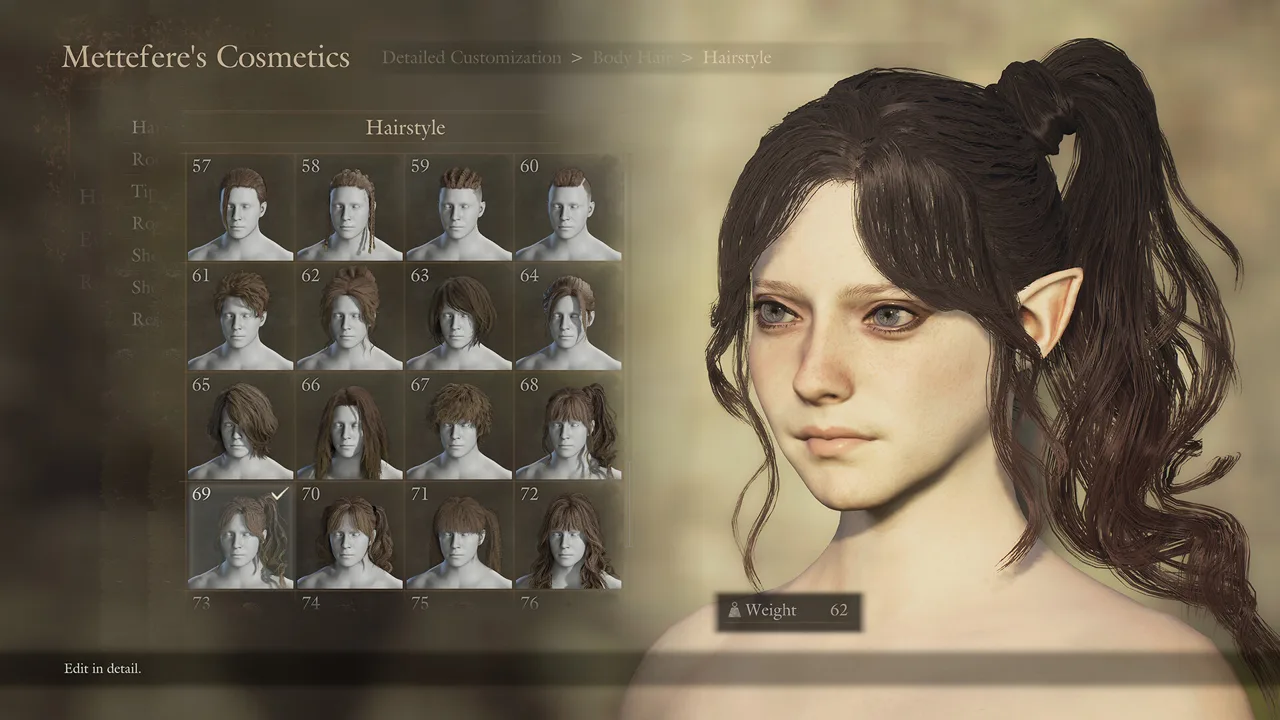 Image: Steam / CAPCOM Co., Ltd.
Enemy lineups change after a Lost Rite's initial clear. Avoid planning a material farm around the assumption that every later run will reproduce the original encounters.
For specific enhancement needs, familiar boss materials provide a more focused target than collecting everything indiscriminately.
| Boss | Material to pursue | Combat focus |
|---|---|---|
| Cyclops | Misshapen Eye | Attack its eye |
| Drake | Dragon Scales and Wyrmslife Crystals | Target the chest and use ice |
| Griffin | Great Griffin Claw and Griffin Pinion | Use fire to bring it down, then attack its head |
| Medusa | Granite Medusa Bone | Target the neck |
| Minotaur | Minotaur Horns | Attack its legs and use fire |
| Goreminotaur | Blackened Horns | Seek this variant when the enhancement requires its horn |
Check your equipment's enhancement requirements before choosing a destination. Target the creature that supplies the missing material, and collect its loot before moving on.
Within Lost Rites, gather Brinebeast Ore and Brinebeast Fragments alongside ordinary monster parts. These materials remain available through repeatable loot and contribute to equipment enhancement.
The Mired Conduit's Evil Eye encounter ends when the creature withdraws after its initial health bars. Continue through the dungeon to claim its completion treasure.
In the southern arena, exploit interactions between enemies. Draw fire-vulnerable foes toward magma slimes and use the crowded battlefield to create damage opportunities.
Avoid spending repeated clears chasing another Hexfinger or Offering Flame from a completed dungeon. Move to an uncleared Lost Rite for additional unique rewards, or return with a specific material target.
Use Relics and Offering Flames to Strengthen Your Build
The longer progression loop behind Dragon's Dogma 2: Dark Arisen boss rewards connects Lost Rites with Norgan's relic equipment.
Relics arrive unidentified. Their inventory descriptions indicate broad equipment categories, such as a helm or light weapon, rather than immediately usable gear. Bring them to Jiera and spend Rift Crystals on appraisal to reveal their equipment forms.
Appraised relics can carry stat modifiers and special effects that support different builds. Return to Norgan when a Lost Rite becomes difficult, collect more relics, and improve your equipment before attempting that dungeon again.
Freki provides another relic-hunting option. After his introductory adventure, feed him meat to trigger a search for buried treasures, then follow him to the find.
Offering Flames support a separate progression system at Norgan's vocation Obelisks. Those structures provide new skills and upgrades, permanent stat benefits, and temporary bonuses that increase relic drops associated with their vocation.
The relic-drop bonus lasts one in-game day. Activate the relevant Obelisk before heading out to hunt equipment for that vocation.
Don't overlook an Obelisk simply because you play another class. The Fighter Obelisk offers health-related benefits, while the Mystic Spearhand Obelisk provides strength and magick benefits. Their stat improvements apply across your vocations.
Build your next run around a concrete goal:
- Pursue an uncleared Lost Rite for its weapon, armor, or Offering Flame.
- Explore Norgan when you need stronger relic equipment.
- Choose a boss hunt when an enhancement requires its material.
- Repeat a completed dungeon for its renewable rewards.
Alternate between the two regions as your equipment improves. Earlier Lost Rites supply distinct treasures and Obelisk progression; stronger Norgan relics prepare you for the later challenges.
FAQ
Can you farm Dragon's Dogma 2: Dark Arisen boss rewards repeatedly?
You can repeatedly collect monster materials and renewable dungeon loot. Lost Rites' unique weapons, armor, rings, and Offering Flames are first-clear rewards. Repeat-clear final chests provide gold and Ferrystones instead.
How many Lost Rites are there?
There are 12: nine before the Unmoored World and three within it. The final Unmoored World dungeon requires completion of the other two there.
Do you need the Empowered Godsbane Blade for Lost Rites?
You need it for the sealed entrances. Devilkin Hollow begins with a broken seal. Obtain the empowered blade through the main story, including Ambrosius's request for 15 Wyrmslife Crystals.
Should you collect Lost Rites gear or Norgan relics first?
Clear the introductory Lost Rite, then pursue the equipment your build needs. Alternate early dungeons with Norgan exploration, using appraised relics to prepare for harder encounters. Dragon's Dogma 2: Dark Arisen boss rewards work together through unique gear, Obelisk upgrades, and renewable enhancement materials.
Continue with
 Dragon's Dogma 2: Dark Arisen Boss Weaknesses GuideMaster Dragon's Dogma 2: Dark Arisen boss weaknesses with elemental counters, weak points, and Lost Rites tactics. Build your party for tougher fights.
More in Bosses
Dragon's Dogma 2: Dark Arisen Bosses: Battle Guide
Master Dragon's Dogma 2: Dark Arisen bosses with weak-point tactics, Fimbul Dragon survival tips, relic upgrades, and practical advice for tougher battles.
Dragon's Dogma 2: Dark Arisen Fallen Dragon Boss Guide
Master the Dragon's Dogma 2: Dark Arisen Fallen Dragon fight with weakspot priorities, party setups, Ghoul control, and survival tips in the Reunion quest.
Dragon's Dogma 2: Dark Arisen Sphinx: All Riddle Answers
Solve each Dragon's Dogma 2: Dark Arisen sphinx riddle, find the tusk, brooch, and Frozen Wyrmslife Crystal, and earn rewards to advance Seeking the Sage.
Join the community
Official channels for news, updates and player help: